

Easihold Pro Resin Bound Gravel Kits
Choose options
Professional Results. Made to last
Everything you need to create a professional resin-bound finish at home.

Long-Lasting Performance
Create a stunning, professional-looking resin bound surface without specialist tools or experience.
The DIY Resin Bound Kit is designed for DIY enthusiasts and landscapers who want a smooth, durable finish for paths, patios, borders and decorative landscaping features.
SIMPLE TO USE. BUILT TO LAST.
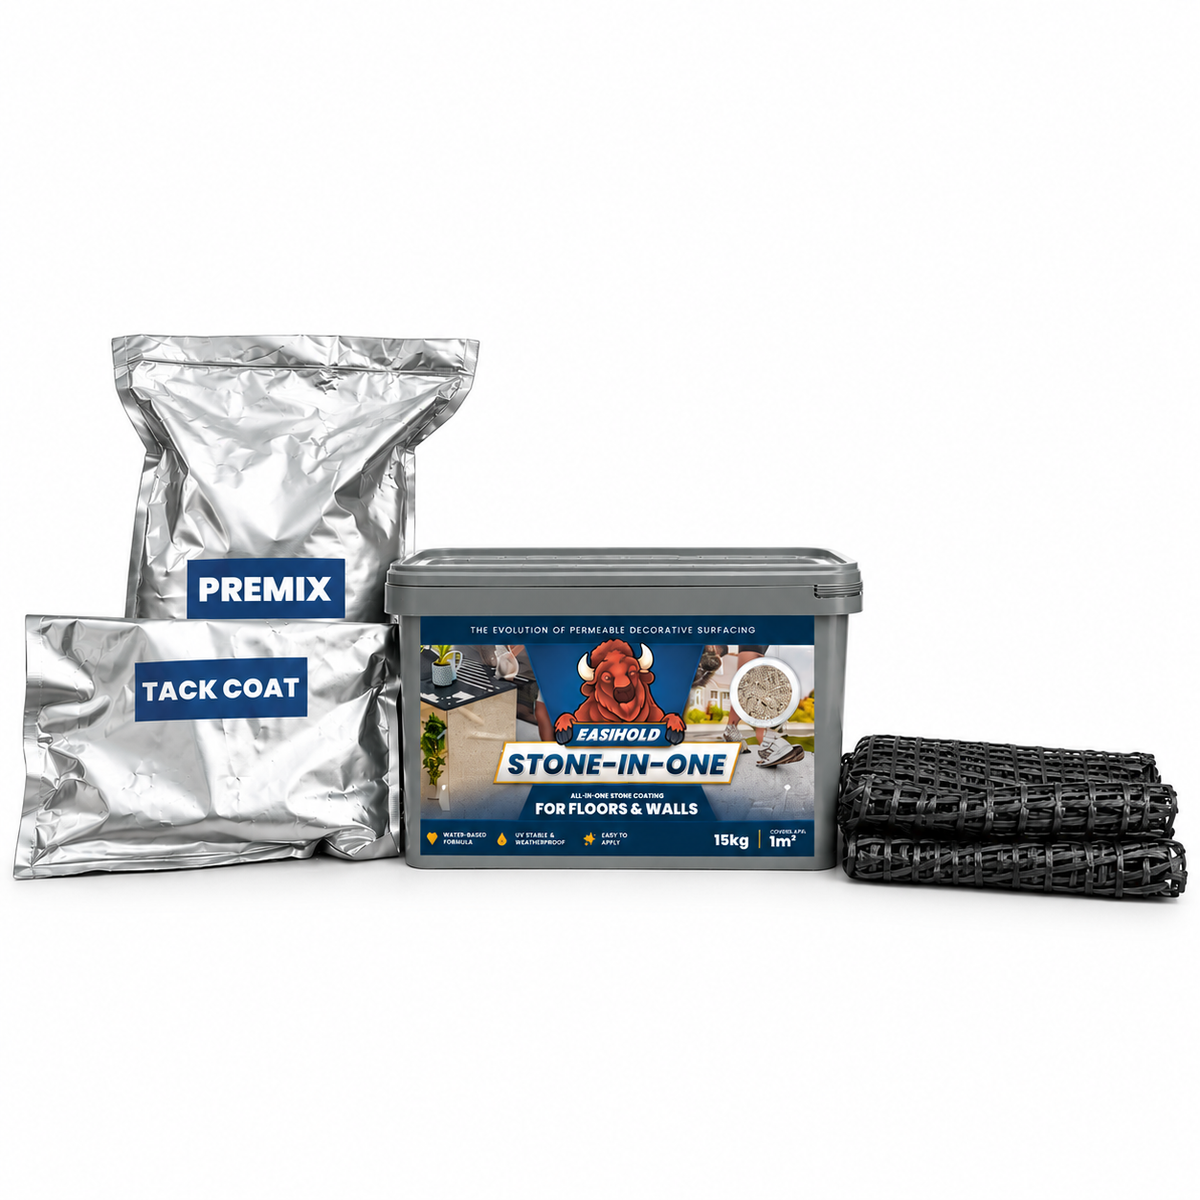
Two-part PU resin supplied pre-measured, ready to mix. All you need is a bucket, a drill with a paddle, and a trowel.
Ideal for transforming paths, patios and living areas in both garden areas and commercial settings with an incredible, seamless finish.
15 year life expectancy when applied onto a solid base following our application guidelines.


AS SEEN ON BBC'S GARDEN MADE PERFECT
Resin-bound has grown massively in popularity over recent years. And it's easy to see why:
PROFESSIONAL QUALITY. MADE TO LAST.
Everything you need to create a strong, seamless and professional-looking resin-bound finish.
Strong, Durable & UV Resistant: Built for lasting outdoor performance. The professional-grade polyurethane resin is UV resistant and designed to create a strong, resilient resin-bound surface with excellent long-term durability.
1 Kit = 1m² Coverage: No complicated calculations or guesswork. Each Pro Kit combines 1.75kg of resin with 25kg of aggregate and covers approximately 1m² when applied at 15mm depth, making it simple to plan your project.
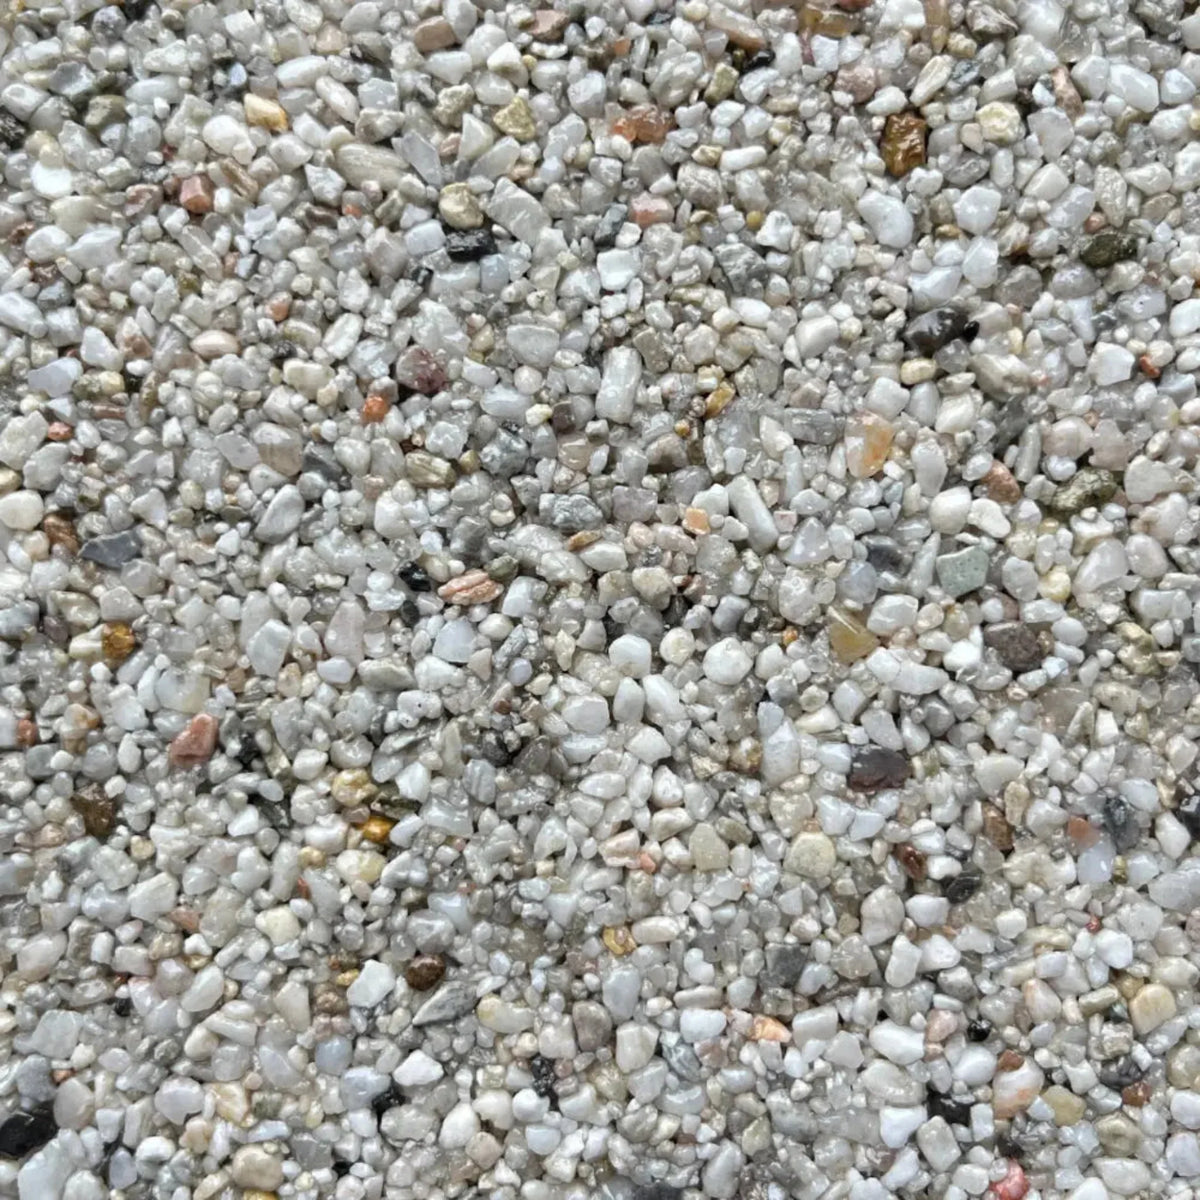
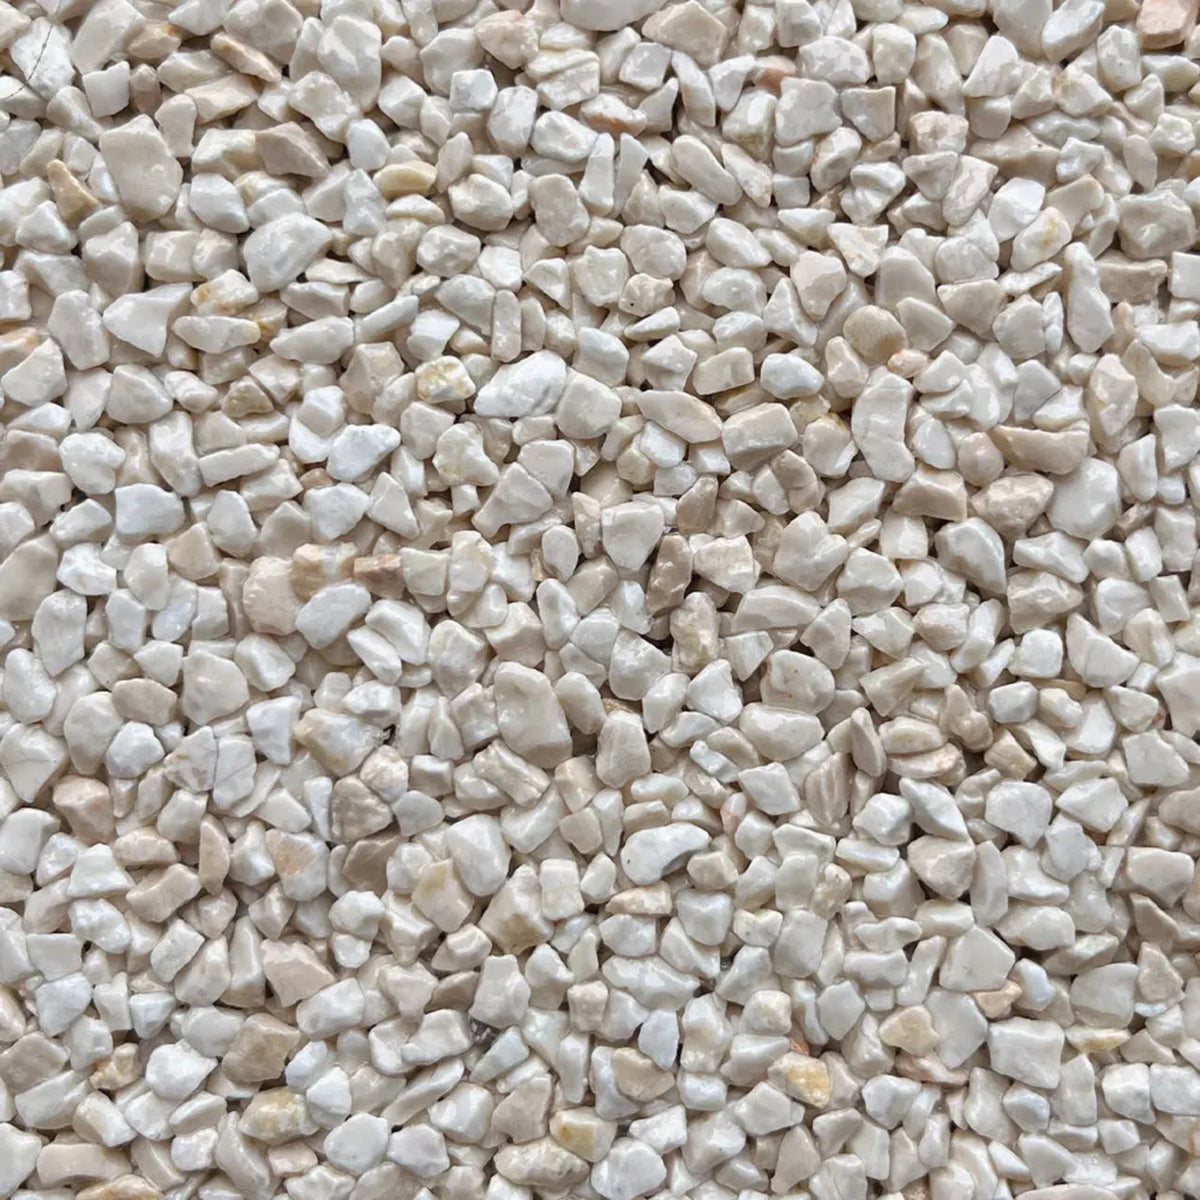
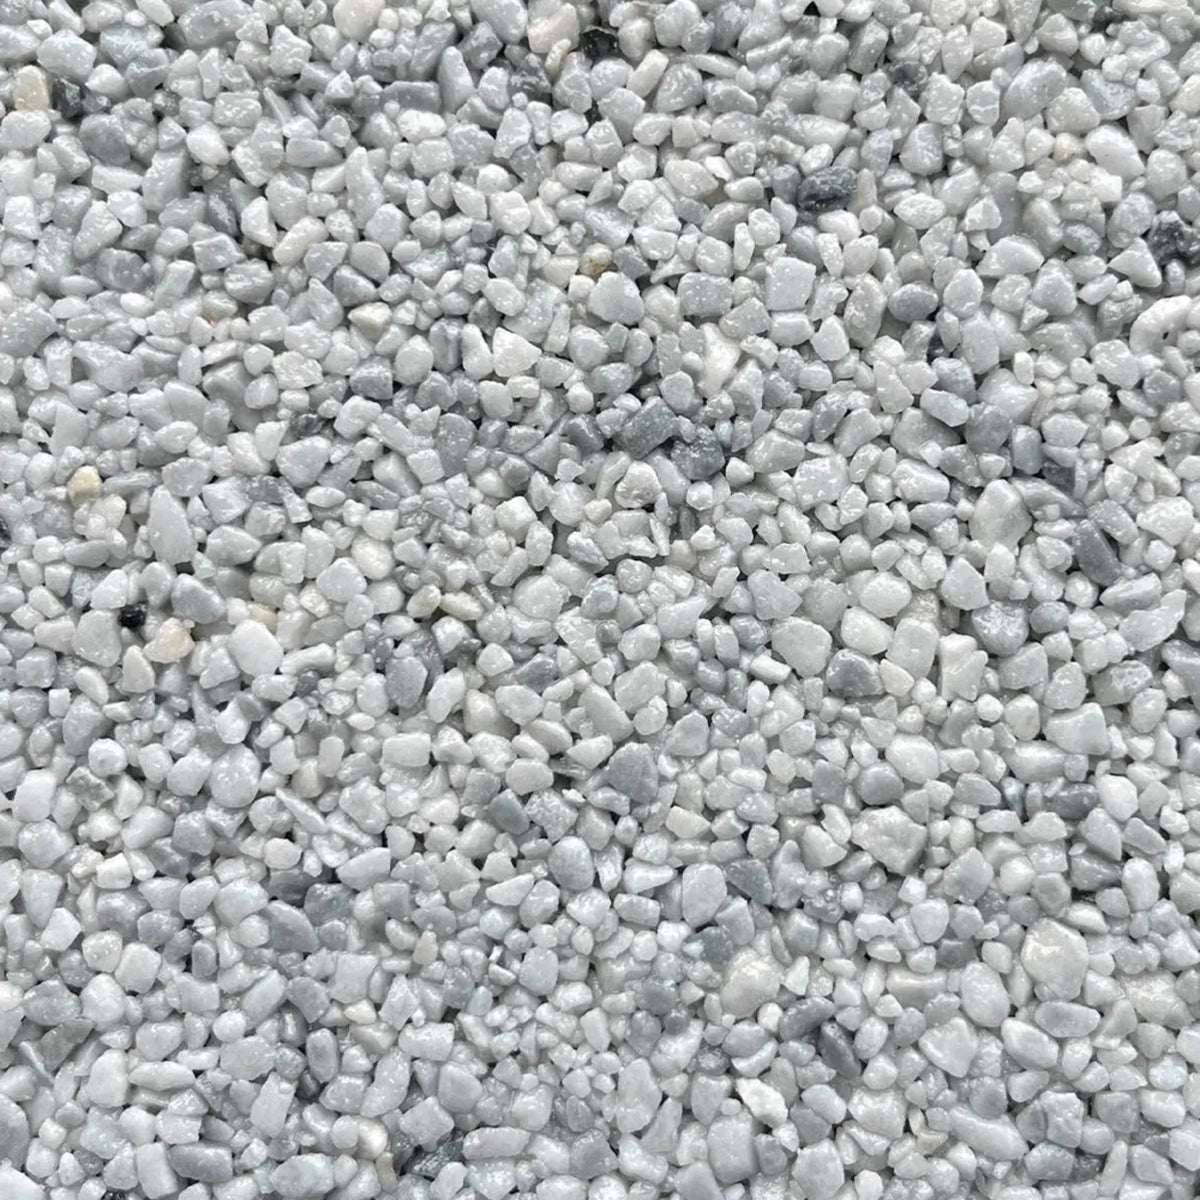
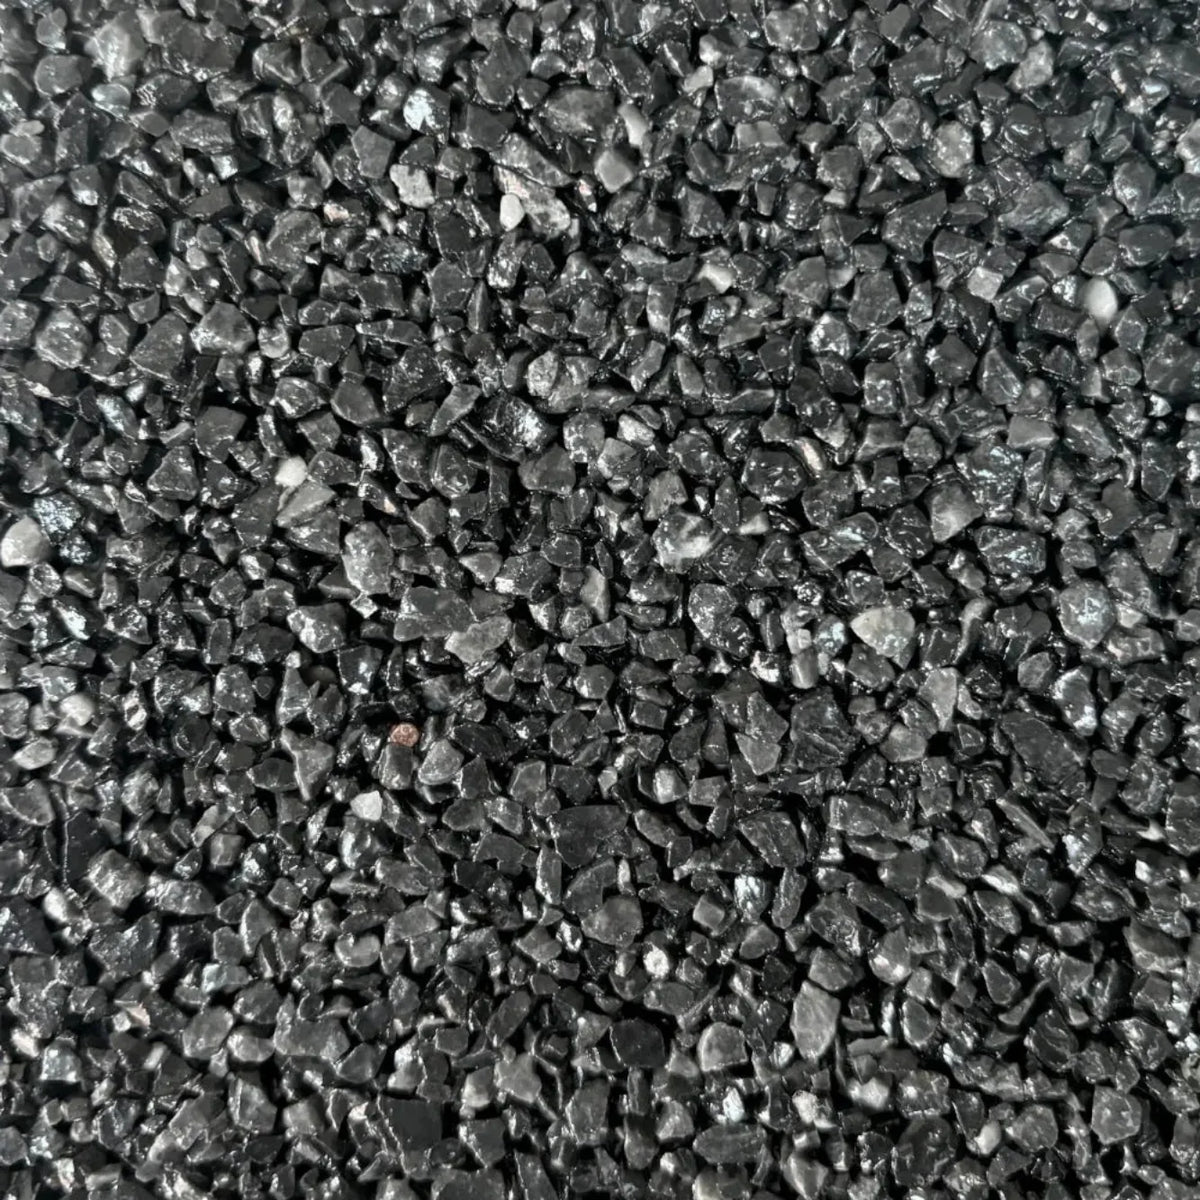
Genuine Marble & Quartz Stone: Choose from a range of beautiful, genuine marble and quartz aggregates to transform paths, patios, garden areas and outdoor living spaces with a premium, natural-looking finish.
Designed for Long-Lasting Outdoor Spaces: When installed onto a suitable solid base following our application guidelines, Easihold Pro Kit has a 15-year life expectancy. Ideal for pedestrian paths, patios, garden living areas and commercial settings with an incredible seamless finish.
CREATE YOUR RESIN BOUND SURFACE IN 7 SIMPLE STEPS.
Follow our simple application guide for a smooth, professional-looking resin bound finish.

PREPARE YOUR AREA
Before you begin, make sure your installation area is clean, completely dry, stable and free from contamination.
Remove dust, loose material, oil, moss and anything else that could affect adhesion.
PREPARE YOUR BASE
ProKit can be installed over a range of stable and structurally sound external surfaces.


MIX PART A + B
Pour Part A and Part B of the resin system into a separate mixing container.
Blend thoroughly until the resin develops a smooth and consistent creamy appearance.
WORKING TIME
ADD YOUR AGGREGATE
Once your resin is fully mixed, add the aggregate and mix thoroughly using a drill and paddle mixer.
Continue mixing until every stone is evenly coated in resin.


POUR & SPREAD
Pour the fully mixed material directly onto your prepared surface and begin spreading it evenly across the installation area.
Maintain an even depth throughout. Inconsistent depths can affect both the appearance and structural integrity of the finished surface.
TROWEL & FINISH
Use a steel finishing trowel to carefully compact and smooth the resin bound surface.
Work methodically across the area to achieve your desired finish while maintaining a consistent depth.


LEAVE TO CURE
Once you've finished your installation, leave the surface undisturbed while the resin cures.
A FEW IMPORTANT THINGS TO REMEMBER.
Avoid installation during rain, frost, damp conditions, high humidity or extreme heat.
Give the resin sufficient time to cure before allowing regular use of the finished surface.
Poor mixing is one of the most common causes of installation problems.
Maintain a consistent installation depth for the best appearance and long-term performance.